+91-8826002179
How to use Bead Tips and Crimp Beads for Making Jewelry


When it comes to jewelry making, it is really important that you secure the jewelry in place while adding a professional touch. For this purpose, there are various crimp beads and bead tips that are available. In this blog, we are going to learn how to use crimp beads and bead tips to make a beaded bracelet. So, let’s get started.
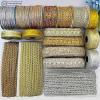
Material Required:
- Bead Tips
- Crimp Beads
- Beads for beading
- Beading Wire or Thread
- Crimper or Flat Nose Pliers
- Flush Cutter
- Jump Rings
- Clasps

Step by Step Instructions:
1) Cut 8 Inches of Beading Wire
2) Add a crimp bead (here I am using round crimp bead), a bead tip and a regular bead in the beading wire
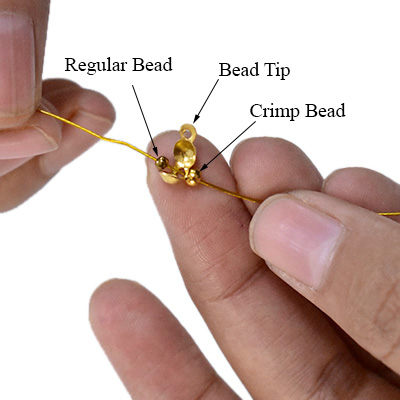
3) Now, skipping the regular bead, take the beading wire back through the bead tip and crimp bead. Tighten the loop so that regular bead comes inside the bead tip.
4) Close the bead tip with the help of flat nose plier

6) Similarly, use a crimper or a flat nose plier to squeeze it into place. Once you do that, you won’t be able to move the position of your crimp bead. So, make sure that you keep this in mind before squeezing the crimp bead.

7) Now, add beads to beading wire. You can add any size of beads you like (for the demonstration I am using the same beads). Slide some beads over both the beading wires.

8) With the help of a flush cutter, cut the extra wire.

9) Once you are done with beading, repeat the same steps from 3 to 6.
10) Add jump rings to the bead tip’s loop and add a clasp.

11) Add jump rings to the other end too. Here, you can also add charm if you want.

Viola! You are done.

This is how you can use bead tips and crimps beads for making any jewelry item. In the next blog I will show you how you can make a bracelet with just crimp beads.
About the Author